
Before you install: collect the right details
Keep your Iflex IPTV activation message beside the device you are setting up. Identify the login format it provides: a full M3U URL, separate Xtream server and account fields, or a portal address associated with a device MAC address. These are different methods. Enter only the fields requested by the compatible player rather than trying to fill every screen with the same information.
Check the exact device model, operating system, available storage, and network connection. A television brand alone does not tell you which apps it supports. Player download availability and any separate license fee depend on the developer and store region. Use official stores or a verified developer download, and keep account details out of shared screenshots.
Fire Stick, Fire TV, and Fire Cube
On supported Fire OS models, begin by checking the Amazon Appstore for your chosen player. If an official developer provides an Android package that is compatible with your specific device, install Downloader from the store and follow the device’s permitted installation process. Where available, Settings → My Fire TV → Developer Options → Install Unknown Apps lets you grant permission to the installer. Older models may call this Apps from Unknown Sources.
Download only from the player developer’s verified source. Open a compatible player such as TiviMate, IPTV Smarters, XCIPTV, HOT Player, or IBO Player where available, then select the login method matching your activation message. Not every Fire TV model uses the same operating system, and some models restrict installation outside the store. If the option is absent, consult Amazon’s model-specific guidance instead of following instructions for a different generation.
Android phones, tablets, TV boxes, and televisions
Open Google Play on the device and search for a compatible IPTV player. TiviMate, supported Smarters versions, GSE Smart IPTV, HOT Player, and IBO Player are examples to check; availability and interface suitability vary. A phone app is not automatically comfortable to use with a television remote. Review the developer identity and supported platform before installation.
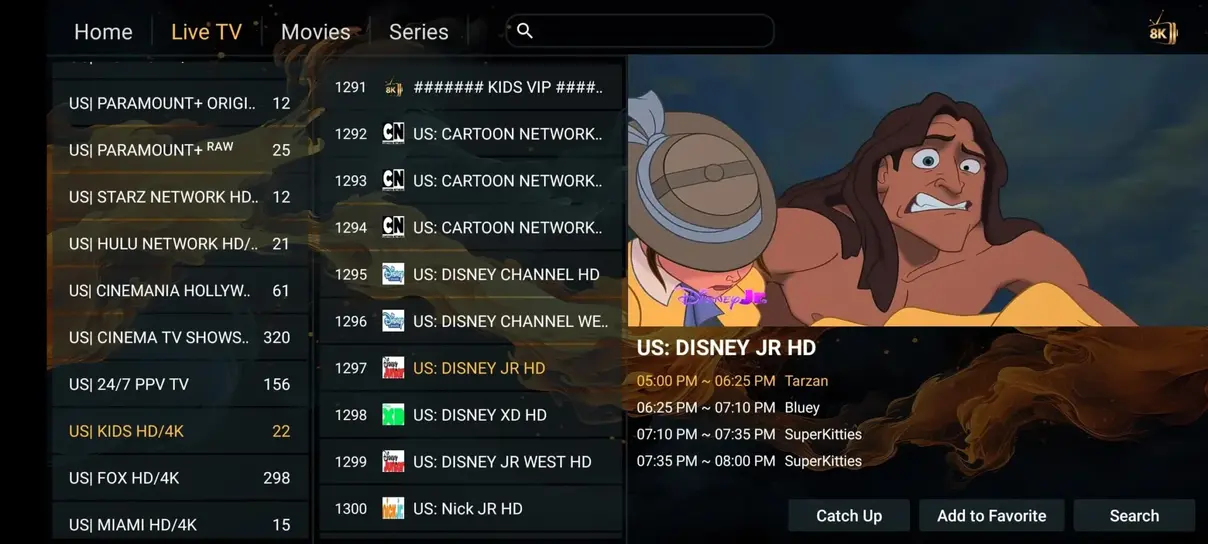
After opening the app, choose Add playlist or the equivalent account option. Paste the complete M3U URL, or enter the server, username, and password in the separate Xtream fields. Preserve capitalization and remove accidental spaces. Save the configuration, wait for the import to finish, and test one live channel. If prompted for guide data, use only the EPG URL supplied for your account.
Smart TVs: Samsung, LG, Sony, and other brands
Connect the television to your home network and open its native app store, such as Samsung’s store or LG Content Store. Search for a player compatible with that operating system. HOT Player, IBO Player, Smart IPTV, or other IPTV players may be available depending on the model and region. Android TV apps should not be assumed to run on Samsung Tizen or LG webOS.
Some TV players display a MAC address and device key and require playlist management on the developer’s official website. Others accept M3U or Xtream details directly on the television. Follow the player’s own method and confirm the destination before entering a private URL. Restart or refresh the player after saving. Keep the app-license payment separate from the subscription order unless both are explicitly included.
Windows desktops and laptops
Choose a maintained Windows-compatible player from its official distribution channel. MyIPTV Player, compatible Smarters software, Kodi, or an officially supported desktop player can offer different playlist workflows. Verify current availability before downloading. Avoid third-party installers that bundle unrelated software or promise a premium account with the app.
In MyIPTV-style workflows, create a named playlist source using your M3U URL, then select and refresh it. In an Xtream-capable player, enter the server and account fields instead. If your firewall asks for network access, assess the specific trusted application rather than disabling the firewall entirely. Test the player’s audio output and display scaling before connecting the laptop to a television.
iPhone, iPad, and Apple TV
Use the App Store to find a player that explicitly supports your Apple device. GSE Smart IPTV, supported Smarters players, iPlayTV, Cloud Stream, HOT Player, and IBO Player are examples whose availability should be checked in your store. A listing for iPhone does not necessarily include an Apple TV version. Read the supported platforms before paying for a license.
Create a playlist or account inside the player using the format in your activation email. Use a descriptive account name so it is easy to recognize later. After import, test a channel, available subtitles, and any remote or AirPlay controls you intend to use. Casting features depend on both the player and destination device; they are not guaranteed by the subscription alone.
macOS: MacBook and iMac
Install a maintained macOS player from the App Store or the developer’s official site. HOT Player, compatible GSE or Smarters versions, and Kodi are possible starting points, subject to current platform support. Check whether the download supports your Mac’s processor and macOS version. Do not bypass security warnings for an unidentified download just because its name resembles a familiar app.
Add your M3U playlist or Xtream account, save it, and allow the first library refresh to complete. If playback appears without sound, check the selected audio output and the app volume. When using an external monitor, confirm the output resolution and display connection. A local display problem should be investigated separately from an account login failure.
MAG, TVIP, Formuler, and portal-based receivers
For a supported MAG-style portal device, connect the receiver to the television and network. Open Settings → System Settings → Servers → Portals where that menu exists. Enter the supplied portal URL in the relevant portal field, save, and restart the receiver if instructed. The device MAC address may need to be registered on the account before the portal can load.
TVIP and Formuler models use their own interfaces, so follow their documented equivalent rather than assume the MAG labels are identical. For STB Emulator, create a profile, configure the authorized portal and the agreed MAC address, and restart the profile. Do not copy another device’s MAC address to bypass a screen limit; ask support to register the correct device.
Enigma2 and ZGEMMA receivers
These receivers need more care because playlist integration can modify configuration files. Back up the current bouquet and settings before making changes. If you already understand the receiver’s management interface, use an appropriate SSH or file-transfer tool to reach the box on your private network. Enigma2 channel configuration commonly uses the /etc/enigma2/ directory.
Follow the instructions supplied for your exact image and receiver. A bouquet file must be referenced correctly by the existing configuration; a typo can make channels disappear from the menu. Do not execute an unreviewed installation script with administrative privileges. Ask support what each command changes, preserve the backup, and restart the graphical interface only after the configuration has been checked.
Chromecast with Google TV and older Chromecast models
On a Chromecast with Google TV, open Apps, search for a compatible player, and install it from the available store listing. Log in using the M3U or Xtream details from your activation message. A player designed for remote navigation usually offers a more comfortable experience than a phone-only interface. Google’s official help explains the store installation process.
Older Chromecast devices rely on casting from another device rather than installing a television app directly. Load the authorized playlist in a phone app that supports casting, make sure both devices can discover each other on the network, and use the Cast control. Codec and stream support can differ from playback on the phone itself. Hotel and guest networks may block device discovery.
Verify the setup before your first long session
Once the playlist loads, test live TV, the guide, and an on-demand item separately. Confirm the local time zone and daylight-saving behavior so guide entries match your clock. Add a few favorites instead of reorganizing the entire catalog immediately. This makes it easier to see whether an account refresh affects your settings.
If something fails, record the exact message, player version, device model, and whether another channel works. Check for extra spaces in the login and confirm that another device has not already used the plan’s screen allowance. Do not repeatedly reset the television or share credentials publicly. Contact support with the findings; the troubleshooting page provides a sensible next sequence.